Data Explorer
The Data Explorer page allows examination of the data within Exprodo DB. By default, it appears on the menu here:
Select a Biskit Type, and a table appears that shows all Biskits of that type.
Note: The Data Explorer page does not yet handle well the situation when there are lots of Biskits of the selected type. It is highly recommended that the user does not attempt to use the Data Explorer to view Bookings, for example, since there may be many of them. |
Apart from being able to choose the type of data to look at, the Data Explorer page is identical to several other pages in Exprodo DB, such as the list of users shown in Modifying Users.
Select User as the Biskit Type, then a list of users will appear and the user will be able to examine or modify them (permissions permitting).
How To Edit Multiple Items At Once
You can edit many items in one go quite easily, using the check boxes and the checked button bar as follows:
1.Tick the check boxes next to each item to be changed, or tick the box in the header row to tick all boxes.
2.
3.Once one or more check boxes have been ticked, the checked button bar will change so it is no longer greyed out. Press the Edit Checked button to edit all the ticked items.
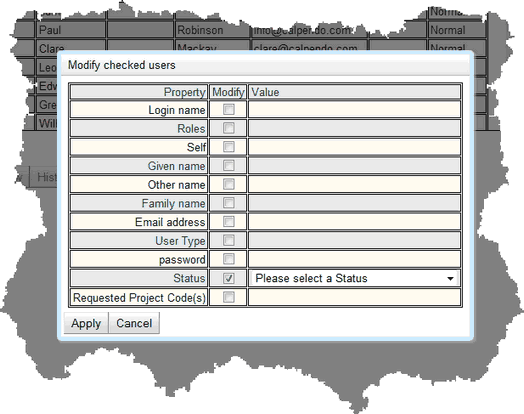
4.When you press the Edit Checked button, a pop-up appears showing most of the properties that are defined for the selected Biskit Type. However, some may be missing if they are too complex to edit in this pop-up (for example, properties that contain lists of things). If these properties are Grouped or have a Layout defined then the pop up will be hierarchical.
5.Tick the check boxes of one or more properties shown in the pop-up. Once done, the Apply button changes so it is no longer greyed out, and an editor appears in the Value column:
6.Choose a value for each property whose check box you tick. When finished, press the Apply button. Every ticked item will then be modified, with only the ticked properties being changed. Whatever values selected for each property will be applied to all the ticked items. Properties that are not ticked are not affected by the change.
While it is very useful being able to edit multiple items at once, the above mechanism doesn't let you edit every property. If the user wants to change the more complex properties, such as lists of things, then they need to use a different change mechanism.
For a complete description of the standard toolbar buttons read the Toolbar Button Standard Definition chapter.
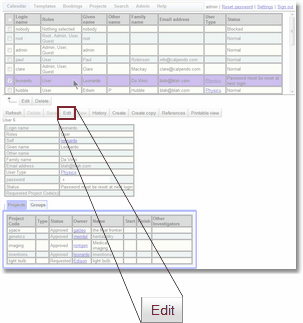
1.Click anywhere in the row for the item to edit, apart from its check box in the first column. The item's details are shown below the list of items.
2.Press the Edit button (not the one in the checked button bar)

3.The item is now shown with the properties editable. Note that, depending on how permissions have been set up, it is possible that some properties will still show as read-only.
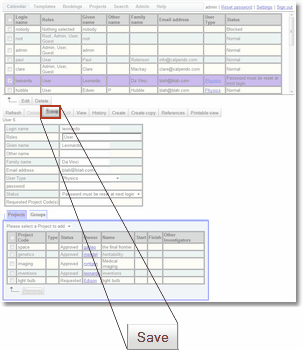
4.Once changing properties has been completed, press the Save button. The item is then saved and shown read-only again.

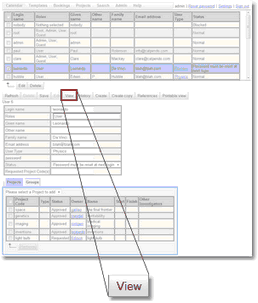
5.To cancel the edit while an item is shown in an editable format, either click on the row for a different item or press the View button.
|


